Again, had a lot of fun with this. Shot with my Google Pixel4a, because the quality of video was far superior to my MacBook Air. You may notice the white wire on the right hand side of the screen (my left) as I attempted to make a lavalier (lapel mic) using a set of earbuds going into my laptop. It worked okay, but there was some fabric scratching. I went through Audacity and took out all the noi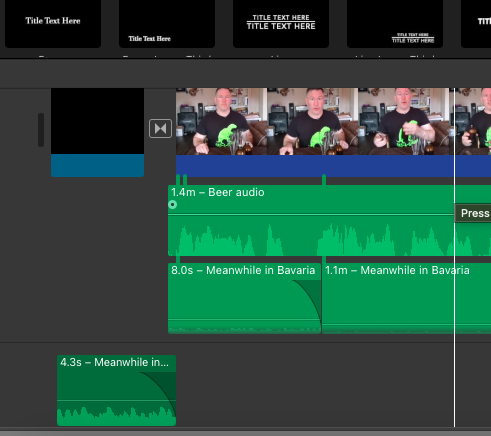 se I could find, both by using the Noise Reduction filter, and also by editing the sine waves, but there are one or two parts where you can still tell. I wanted to have the ambient noises present… the crack of the cap on the bottle, and the sound of the pour. Next time, I would paint the lavalier out to match my shirt, and clip it outside the material to prevent the scratching noises.
To control the light, I closed off curtains to the outside windows, but left them open on the sides to get an ambient fill that let no shadows. When the light was direct, it reflected off my shirt, and the desktop. The latter, I covered with a sheet, but I had to make sure I had no direct light. The actual Youtube does not look as good as the iMovie file, and next time I may equalize the lighting tones a bit more to bring the brightness down.
For audio, I split the audio track off the video and discarded it, then imported my edited track from Audacity. Syncing wasn’t too bad, and I think it’s close enough no one can tell. I brought in some oompa music (Creative Commons, https://incompetech.com/music/royalty-free/index.html?isrc=USUAN1500057#google_vignette) to lighten the mood (of course, there is no WRONG way to enjoy a beer… Just poking fun at beer snobbery). I ended up splitting the music track a few times to vary the volume levels, and do a couple of swells. Turned out to be a pretty big file, so I uploaded it to Youtube and threw the link below. Feel free to share your feedback! For those that care, that’s a clone I made of Sierra Nevada’s Pale Ale, all Cascade hops with a lovely malt body.
For my screencast, I used Quicktime to show my students how to record on Zoom. As the district I wokr in has given everyone a Zoom account, it makes sense that they should know how to use it to enhance their learning. In this piece, I show the students (or whomever) how to record Zoom video and change the target directory so that they can find their recorded product. I probably could have made the quality a little better, but I was trying to keep it small as some of my students are on their parents’ mobile devices, and I didn’t want to drain their data plan.
The Final Cut
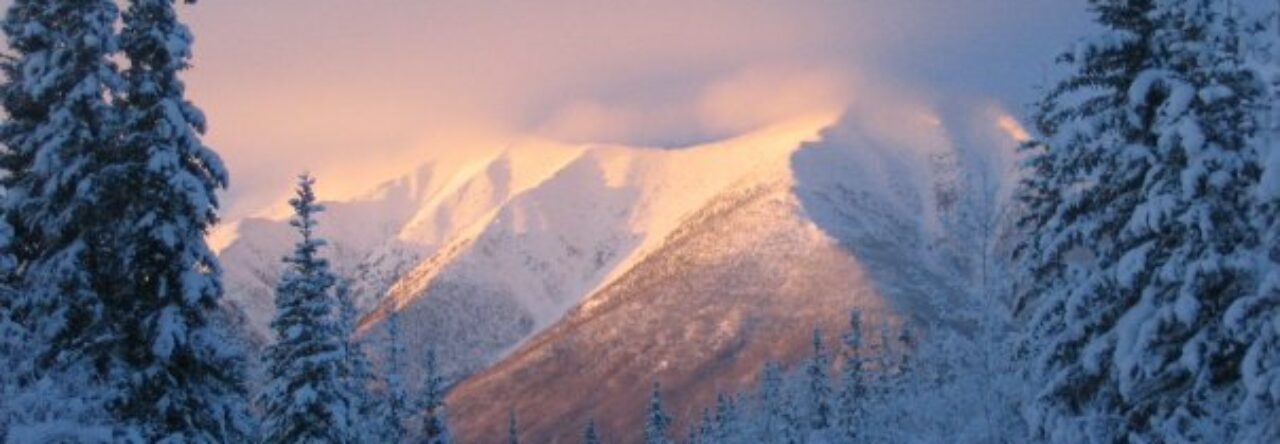
Again, lots of fun… I enjoyed composing and shooting the storyline in this little project, and I combined stills, time-lapse video, editing in sounds, transitions, and even a little cinematic trick (well, sort of a poor cousin of the ‘pushthrough’) in making this. Probably did more than I needed, but hey, I was having fun.
I think one thing that would make a huge difference is a quality microphone and stand, and a bounce card and stand. This would ‘fix’ some of the small audio inconsistencies, and the bounce card would even out the light on subjects in frame.
I think for my students, I would be happy to have them stick with the pre-packaged video and audio treatments, as it would allow more focus on content, and less on production. That said, I think it is important to model ‘what could be’, to a certain degree, so as to inspire as well as inform.
Leave a Reply
You must be logged in to post a comment.